
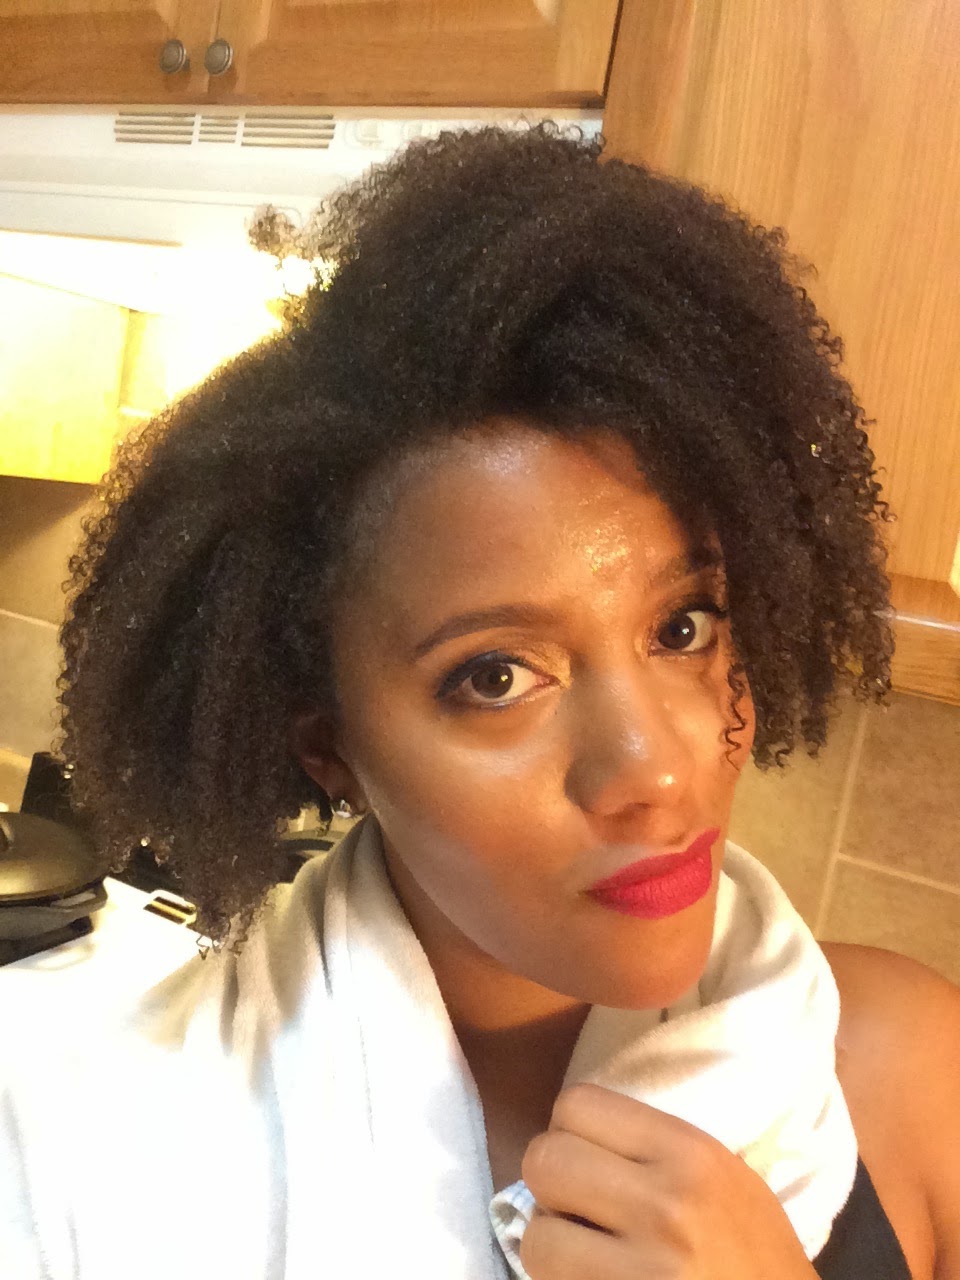
Eyebrow Highlighting with Egypt
When completing your face there are various tips and tricks to polish off the look. Some use a bit of finishing powder to keep it all in place, some add on lashes to bring out the eyes and others may dust on a bit of bronzer for a golden look; personally I must highlight my eyebrows! I have a thicker brow so adding a bit of shadow to my brow is the perfect final touch to leave my face looking gorgeous. Here are my tips for highlighting brows:
Supplies
Eyebrow pencil or shadow and brow brush
Tweezers for any rogue eyebrow hairs
Concealer or light color eye shadow
Eyebrow comb/brush
First, you will want to pluck any out of place hairs under the brow. This will give your brow a cleaner look.
Second, you will brush your brows to ensure all your hairs are going in the correct direction
Third, you will slowly outline the bottom of your brow with concealer or eye shadow and then lightly highlight the brow bone with the concealer. You don’t need a lot of concealer to achieve this look.
TIP: I recommend using concealer. It resembles eye shadow and will hide any eyebrow flaws you might be experiencing. Example, if you are in need of eyebrow waxing just use your concealer to hide those unwanted hairs.
Fourth, you will take your eyebrow pencil or brush and lightly outline the bottom of the brow with your color of choice. Then you will want to brush upward making sure you are coloring in any holes you may have in your brows. You want to make sure your color looks even and natural.
TIP: Make sure to outline the bottom of your brow all the way to the tip/end of your brow. You want your brows to look consistent.
Finally, you will take your eyebrow brush and gently brush the color through the entire brow to reinforce consistent color throughout the brow.
Watch the video below to see a demonstration of how to achieve this look.
Shea Moisture First Impression with Toya
I’m in love with the Shea Moisture Line, I jumped at the opportunity to try their new “Jamaican Black Castor Oil” (JBCO) – Strengthen, Grow and Restore line. A natural girl at heart, I try and use as many natural products as I can on my skin and hair. Staying away from hair products that contain sulfates and other harsh chemicals is extremely important to maintaining healthy growing hair. The Shea Moisture Line does an excellent job at providing natural and organic products. As a result of running low on my normal go-tos, this was the perfect time to try out the JBCO line. I must say, I absolutely loved the line and it was worth every penny! I purchased the Shampoo, Leave-in Conditioner, Treatment Masque and Styling Lotion, together my purchased averaged about $50.00. These products left my hair feeling soft and well moisturized. Here are the steps I used in creating this look:
First, I washed my hair with the JBCO Strengthen, Grow and Restore shampoo. The shampoo has a great consistency and allowed me to “finger” comb my hair, permitting me to de-tangle my hair.
Second, I deep conditioned my hair with the JBCO Strengthen, Grow and Restore Treatment Masque. I simply sectioned areas of my hair, placed the cream on the section, combed the product into my hair and twisted each section.
TIP: Always brush/comb from the tips of your hair and slowly move up to avoid damaging your hair and pulling at the follicle.
Third, I put a plastic cap over my head and sat under the dryer for about 15-20 minutes so the Treatment Masque could work it’s magic.

Fourth, I rinsed out the product and then rubbed in the JBCO Strengthen, Grow and Restore Leave In Conditioner.
Fifth, I sectioned small areas of hair and put in the JBCO Strengthen, Grow and Restore Styling Lotion. After putting in the styling lotion I rolled each section of my hair with a rod.
The final step would be to either allow your hair to air dry which could take anywhere from 8-15 hours depending on your hair or you can sit under the dryer until your hair is dry.

Voila, your hair should feel soft and manageable after these steps.

Still feeling unsure? Take a look at our tutorial below.
Great Tips! I will definitely try that brow highlighting as well as maybe some products from the new line. Thanks ladies!
ReplyDeleteLuv-4-self, let us know what your thoughts are on the Shea Moisture line. We are curious how others might use these products! Thanks for reading.
DeleteThis is great. I've never filled in my brows but will give this a try. Thanks!
ReplyDeleteNicole, definitely try it out and let us know how it turns out! It really does give your face a different look! Thanks for reading! :-)
Delete